Today, I’ve written for you a quick guide on how to incorporate a custom icon font to your Xamarin.iOS project.
Adding font file
The first step is to add the font file (e.g. ttf) to the Resources folder of your iOS project.

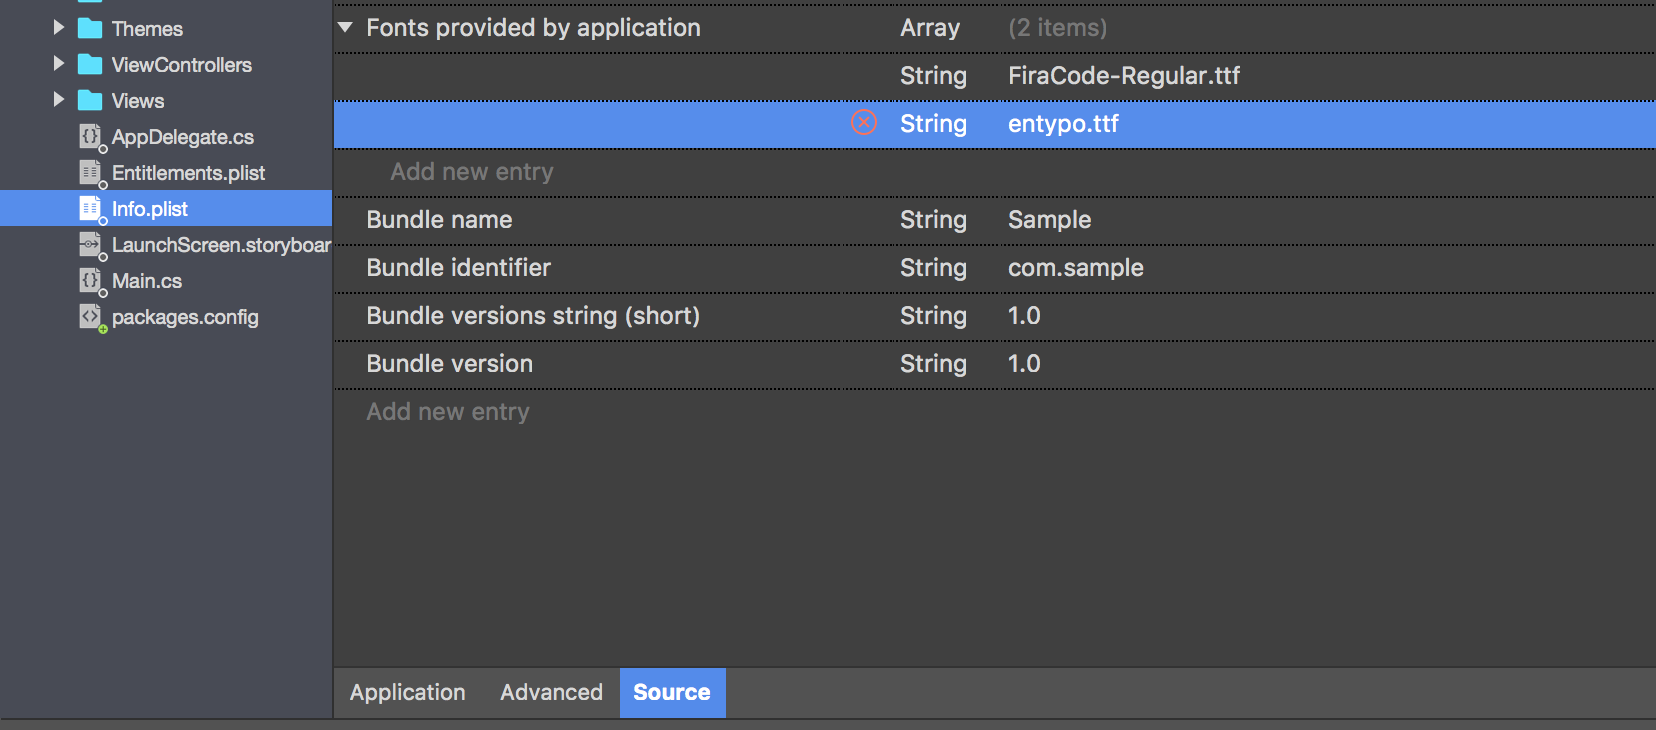
All your custom fonts must also appear in the Info.plist file of your application in order to be available. Open the file with the source editor, add the Fonts provided by application entry (as Array) and insert an entry with you font file name.

Identifying icon characters
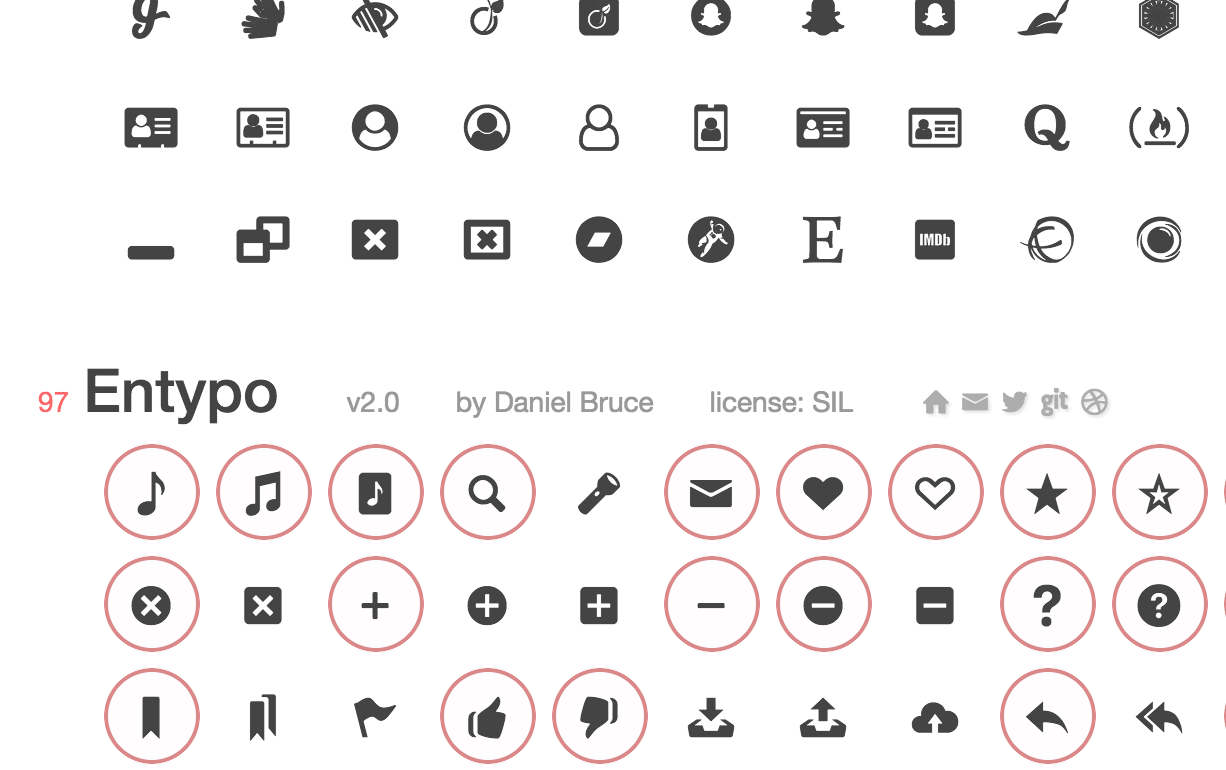
You now have to identify which unicode characters are mapped to the icons you want to use. An easy solution could be to look into the associated .css file (for web) if available, or you could use a font explorator to search your icons.

To create a C# character from your unicode, you can use the char.ConvertFromUtf32 method :
var c = char.ConvertFromUtf32(0x2605);
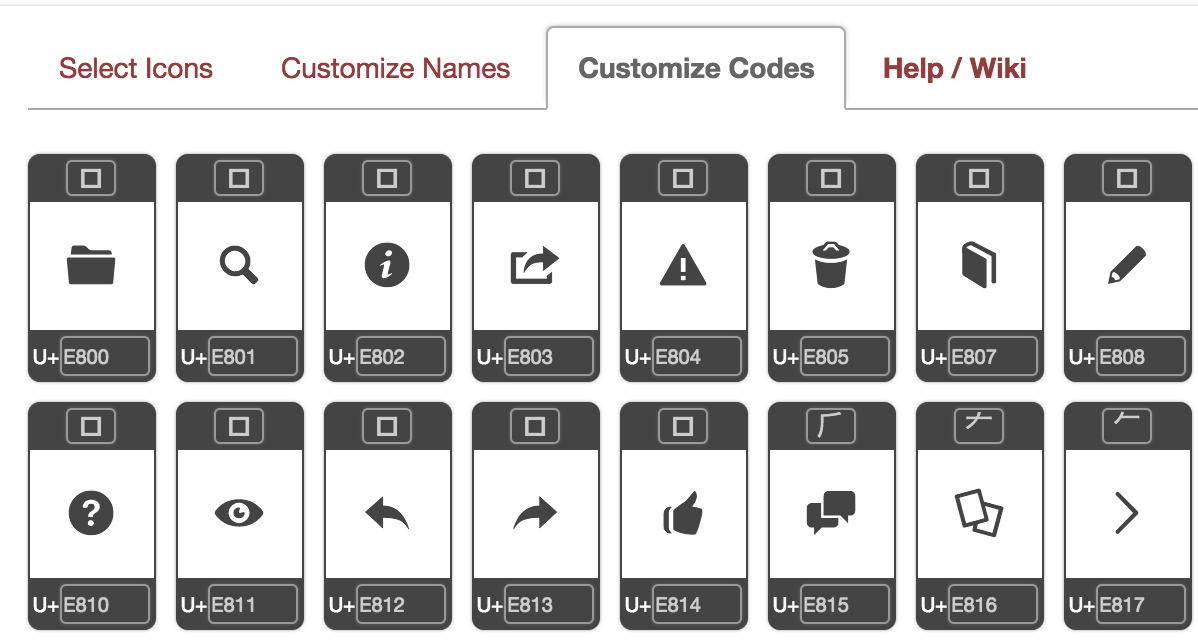
Another great resource for generating webfont you should use : fontello.
Pick the icons you wish and download the webfont file.

You have also a tab with unicodes!

Displaying the icon
Ok, we have all the elements to insert your icon into a UILabel :
var label = new UILabel()
{
    Font = UIFont.FromName("entypo", 20),
    Text = char.ConvertFromUtf32(0x2605),
};
Bonus : rendering an image
Generating a UIImage from you icon can sometime be useful (for example for Tabbar items).
Here’s a short snippet of code to do so :
public static UIImage RenderIcon(int code, CGSize imageSize, float size, UIColor color)
{
    var unicodeString = new NSString(char.ConvertFromUtf32(code));

    var attributes = new UIStringAttributes()
    {
        Font = UIFont.FromName("entypo", size),
        ParagraphStyle = new NSMutableParagraphStyle()
        {
            Alignment = UITextAlignment.Center,
        },
    };

    var measure = unicodeString.GetSizeUsingAttributes(attributes);

    UIGraphics.BeginImageContextWithOptions(imageSize, false, 0);
    color.SetColor();
    unicodeString.DrawString(new CGRect(0, imageSize.Height / 2 - measure.Height / 2, imageSize.Width, measure.Height), attributes);
    var result = UIGraphics.GetImageFromCurrentImageContext();
    UIGraphics.EndImageContext();

    return result;
}